

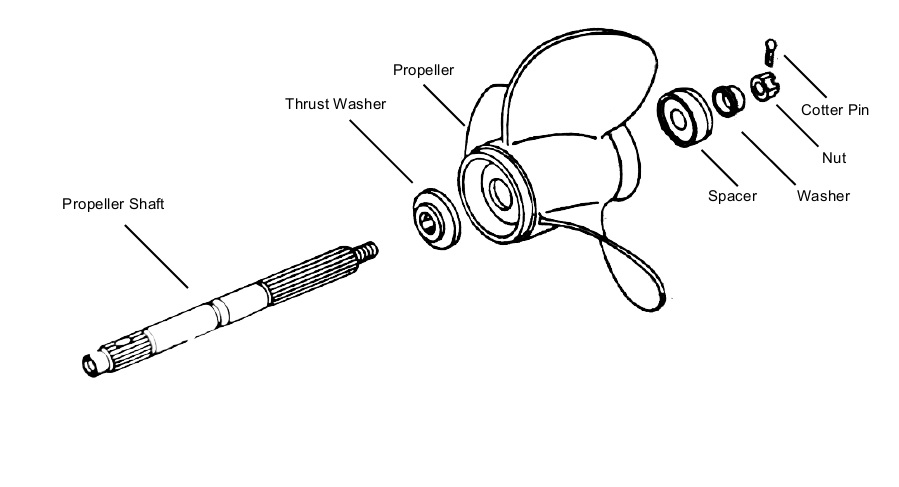
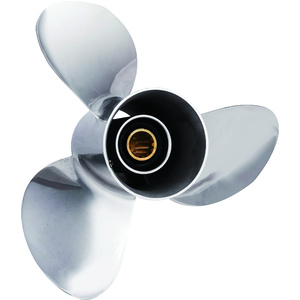
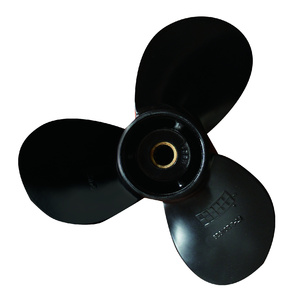
Yamaha Propeller Kits
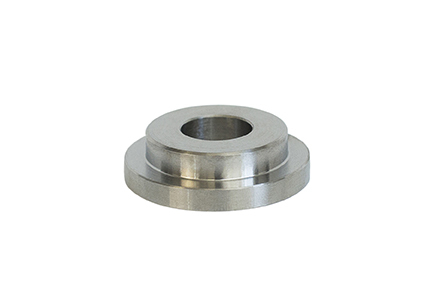
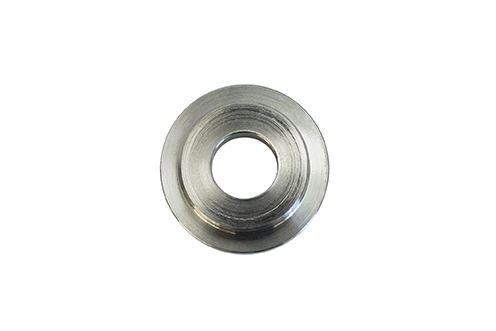
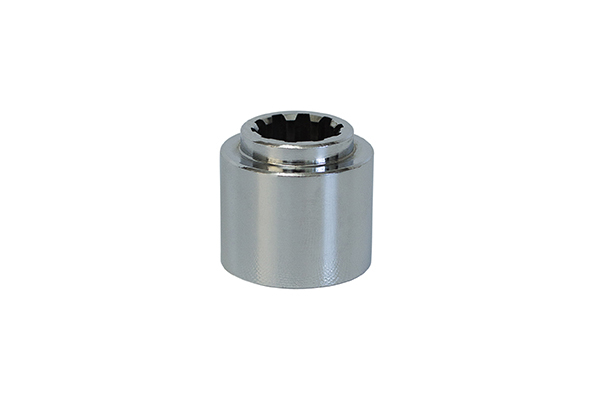
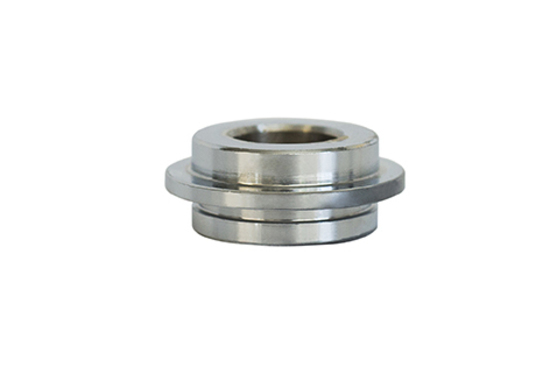
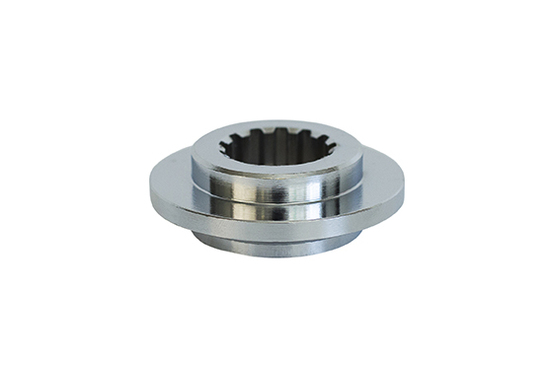
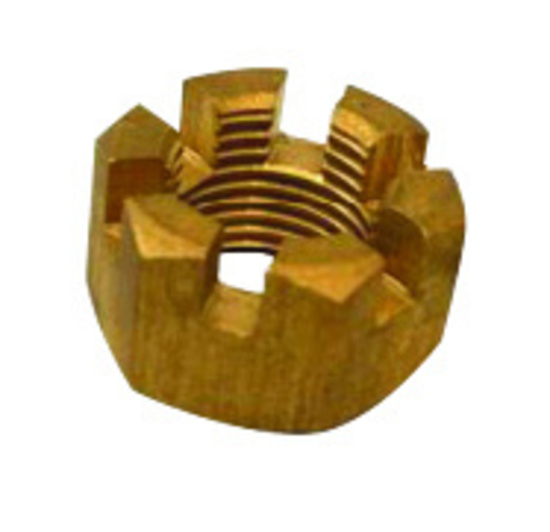
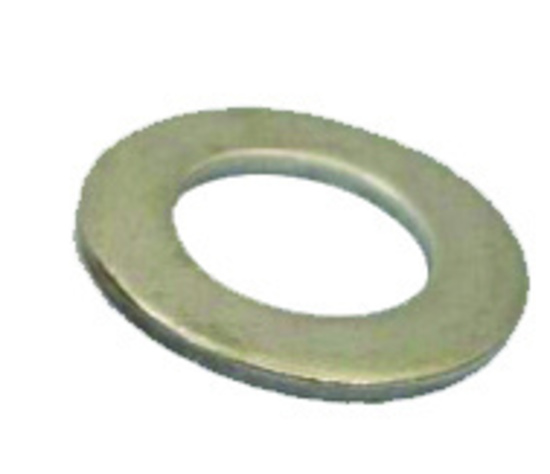
Includes Spacer, Thrust Washer, Nut, Washer & Cotter Pin
Propeller Removal and Installation
Caution: Before you start, ensure the fuel is disconnected and there is no live electrical circuit to your outboard prior to working on the propeller. Remove ignition keys and kill switch/lanyard.
Step 1: Block the propeller with a block of wood, to prevent the propeller from spinning as you apply pressure to the prop nut.
Step 2: Straighten and remove the cotter pin, using a pair of pliers (some propellers will have a circular tab, instead of a cotter pin).
Step 3: Remove the propeller nut with a ratchet, or a prop-puller (a wrench designed just for prop nuts).
Step 4: Slide off all washers and spacers.
Remember: keep these in order, and lined up so you know what goes back where and in which direction.
Step 5: Slide off the prop itself.
Step 6: Before you put on the new propeller, degrease and clean the spline. Recoat with grease.
Putting on the new propeller is simply a matter of following the above steps in reverse.
The below diagram illustrates the component order in a typical installation
(PROPKIT)
| SKU | PROPKIT |
| Brand | PowerWing |
| Unit Of Measure | ea |

